My company, R.O.I. Consulting Group, does Facilities consulting for a few IWMS and workplace management solutions. Not only are we using Autodesk Tandem for ourselves, we will also be coaching our clients through implementations or just Proof of Concept (POC) efforts.
So, let's say you want to try out Tandem without trying to justify expenses and write up RFPs and hire consultants, etc and just do it yourself.
First thought is that, at this point, Tandem will accept .rvt and .ifc formats only.
If you don't have a Revit model yet, but want to proceed with testing, just download a trial of Revit LT and trace it. Eventually, you will want to have a full version of Revit, but if you need something to show people in order to get funding, this is a perfectly good place to start.
Creating a Revit Model for Tandem from a CAD Floorplan:
1. Open Revit LT and create new project from Commercial – Imperial template
2. On the Insert Tab, click Link CAD or Import CAD

3. Navigate to your CAD file and select it.

TIP: Drag a folder from the navigation list to the shortcuts panel on the left, to make it easier to find your way back to this directory next time. (or click the Tools dropdown on the lower left of this dialog box to add this directory to Favorites or the shortcuts panel.) This tip works in AutoCAD and other Autodesk software.
4. On the Architecture tab, click on the Wall dropdown to select Wall: Structural and trace the exterior walls and any known load-bearing walls in the floor plate.
5. On the Architecture tab, click on the wall dropdown to select Wall: Architectural and trace the remaining walls on the floor plate.
6. Add the columns to your model. This can be accessed through the Structure panel of the Structure tab, or the Build panel of the Architecture tab. Though on the structure tab, you are automatically selecting a structural column, on the Architecture tab, you must select between that and architectural columns.
a. Start with the structural columns, as pictured on the right
b. Then add Architectural columns where needed, as pictured on the left

7. On the Build panel of the Architecture ribbon tab, click Door and insert doors where appropriate.
8. On the same panel, click Window to insert windows where appropriate.
TIP: To hide your floorplan and assess the current state of your drawing, go to the Graphics panel of the View tab and click on Visibility / Graphics.
Navigate to the Imported Categories tab of the Visibility/Graphic Overrides for Floor Plan dialog box and uncheck the option ‘Show imported categories for this view’.
You can also control visibility by layer.
Click Apply and OK to save the settings.

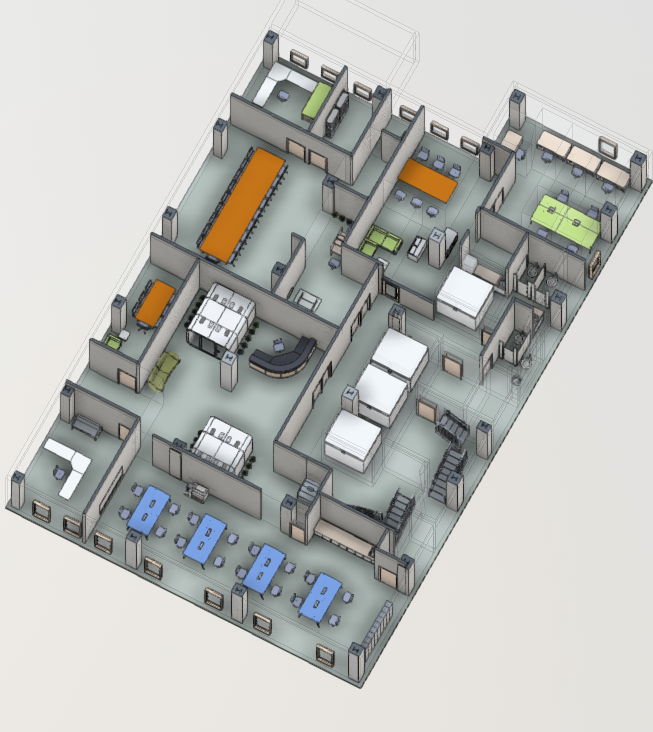
Let’s compare the before and after below. You can see we still need to add casework, furniture, plumbing fixtures, and the Room objects… and I missed 3 Architectural columns I should have placed.

9. We should first add Floor > Floor: Architectural from the Build panel of the Architecture tab. It will prompt you to select the bounding walls of your floor plate and will generate the floor object for you.
10. For the casework, go to the Insert ribbon tab and the Load from the Library panel and click the Load Family button.


I’m going to keep things simple and choose base cabinets and some countertops. Feel free to check the standard families and replace the generic ones with something that reflects what is actually built out in the space. You might also find a site like BIMObject useful in locating a variety of furniture, fixtures, and other Revit families.
11. Once your families are loaded, use the Project Browser on the left side of the screen to find your item, expand any available options, then right-click on that option and select Create Instance from the menu.

12. Add elevators and other building components as needed.
13. Follow the steps for creating a Room object here. You’ll want to make use of the Room Separator tool, to add bounding lines to any spaces without doors to break them up and to cubicle areas. And then use the Room tool to add the final room object with the remaining space around the cubicles.
Wondering why I insist on polylining (sic) cubicles?
I explained the reasons in this article.
14. Update the room tags to reflect the type of space and the room numbers being used, by clicking on the tag text.

15. Under the Room and Area panel of the Architecture tab, click the down arrow to access the Color Schemes function. You can shade the rooms by Name or other parameters.
16. Once you have your scheme established (it should be generated automatically, but you can adjust colors and hatches if you like), you will need to enable it in the Graphics pane on the left, using the Color Scheme field.

17. Now it is time to upload our model to Tandem. Open your project from the home page, click the Files button on the left and select Import Model. We should not have any Phases to choose between in the new model we created, so all we do is name the floor in the Label field.


Video Tutorials
Get Started with Tandem - https://intandem.autodesk.com/resource/get-started-with-tandem/
Create a site, import model, work with filters to look at elements, add template to help with assets
Capture Asset Data - https://intandem.autodesk.com/resource/capture-asset-data/
Specify a facilities template and map assets, it applies parameters and counts as tagged assets
Capture data – select assets in viewer and assign data in properties panel
Working with the Inventory in tabular format (can export/import data using Excel)
Defining Tagged Assets - https://intandem.autodesk.com/resource/defining-tagged-assets/
- Asset is an object (furniture, equipment, door)
- Parameters are properties we want to track (installation date, mfr, warranty end date, etc)
- A group of parameters is called a Parameter Set
- Classification – way to categorize objects, we can create what we want or use existing (master format, uniformat)
- Different types of facilities might have different data needed
- Can apply parameter individually by Element or as a group by Type
- We create a template and include the classifications and parameters to include
Specify Data Requirements - https://intandem.autodesk.com/resource/specify-data-requirements/
No comments:
Post a Comment